Roles & Privileges
In Nblocks, each user is assigned a role that grants them specific privileges. Roles act as groups for these privileges, enabling fine-grained control over what each user can see and do within your application. This setup is key to crafting a secure and robust system. While the OWNER role and AUTHENTICATED privilege are mandatory and cannot be changed, you have full flexibility to define additional roles and privileges based on your needs.
Good examples of roles: ADMIN, MANAGER, GUEST, etc.
Good examples of privileges: USER_READ, USER_WRITE, ENTITY_READ, etc.
Nblocks automatically assigns the OWNER role to the person who initiates the creation of a new tenant. This person becomes the first user and responsible owner of that tenant.
Define your roles
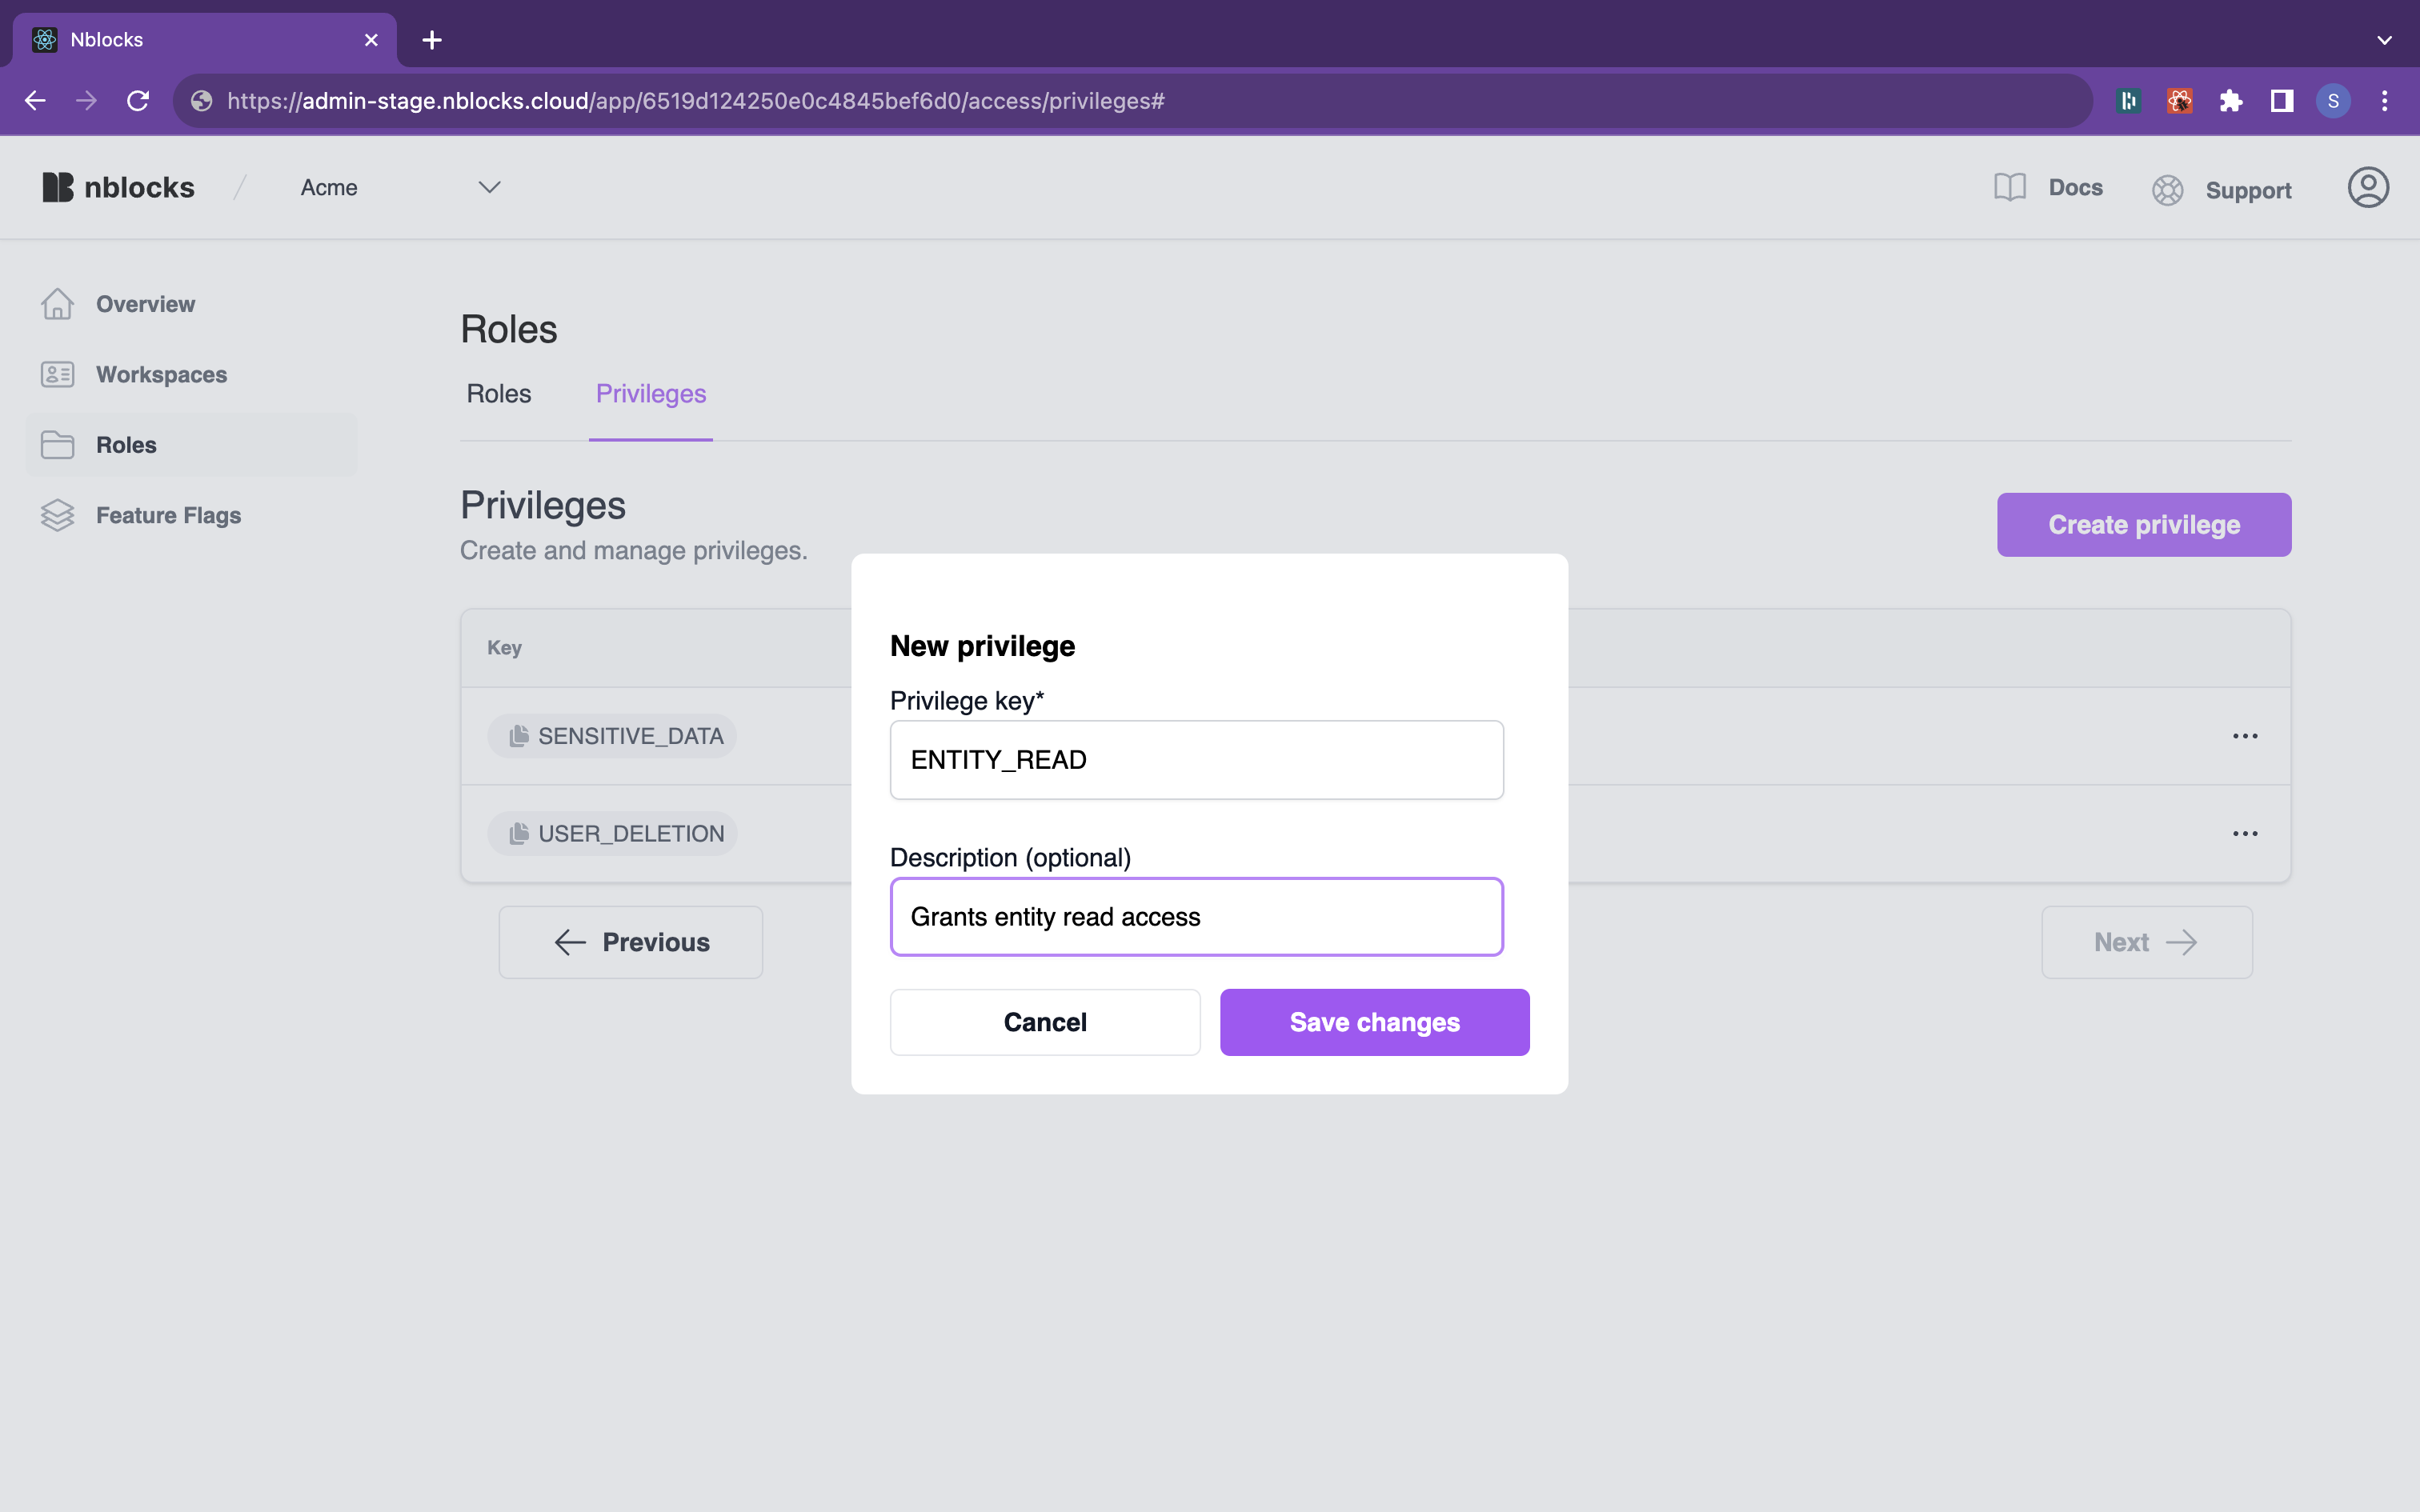
In Nblocks Admin, begin by creating a privilege and adding an optional description:
Then, associate that privilege, along with others, to a new role:

Implement authorization
After protecting your backend or frontend, your newly defined roles will become available for granting user access, as reflected in the updated access token:
{
  "aid": "63d2ab029e23db0afb07a5a7",
  "tid": "63d2b5c18892e10022e08399",
  "scope": "AUTHENTICATED USER_READ ENTITY_READ",
  "role": "MANAGER",
  "plan": "FREE",
  "iat": 1685648418,
  "exp": 1685652018,
  "aud": ["63d2ab029e23db0afb07a5a7", "https://app.nblocks.cloud"],
  "iss": "https://auth.nblocks.cloud",
  "sub": "63d2b5c18892e10022e083a2"
}